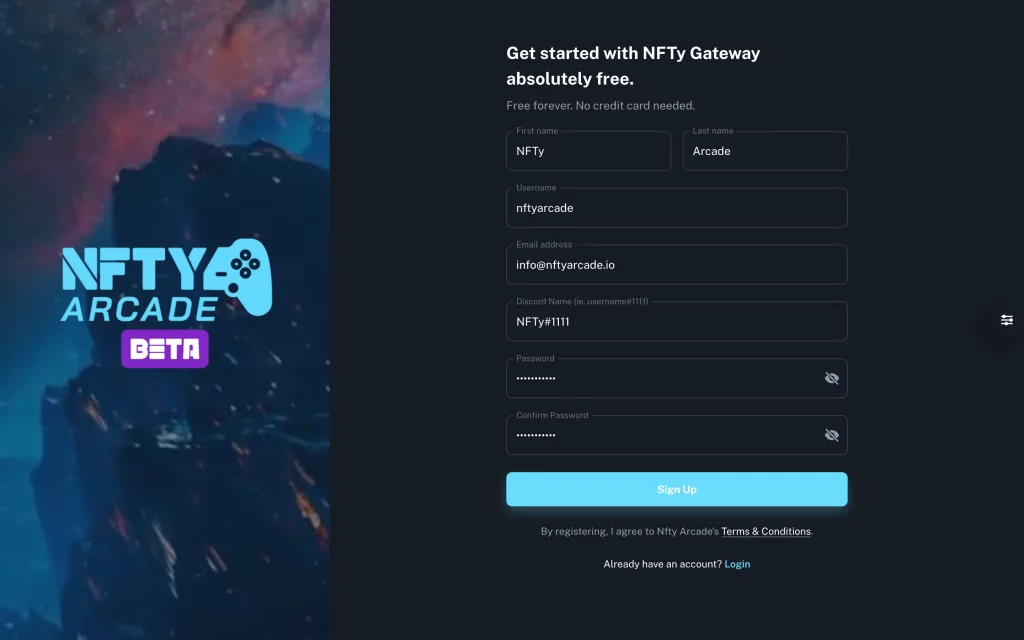
To access the NFTy Arcade Gateway, follow these steps:
- Go to the Gateway.
- Click on the “Get started” button.
- Fill out all the required fields with your information. If you’re logging in from your phone, you’ll need to access the site through the keychain app.
Please ensure that your password is at least 8 characters long and includes at least one lowercase letter (a-z), one uppercase letter (A-Z), one number (0-9), and one special character (e.g. !@#$%^&).
Linking a Splinterlands Account
Prior to starting, you need to set up a Splinterlands account. Read how to do so here.
Setup
Step 1: Starting Setup To begin the setup process, select the “+” icon located at the top of the page and add Splinterlands as your preferred game.
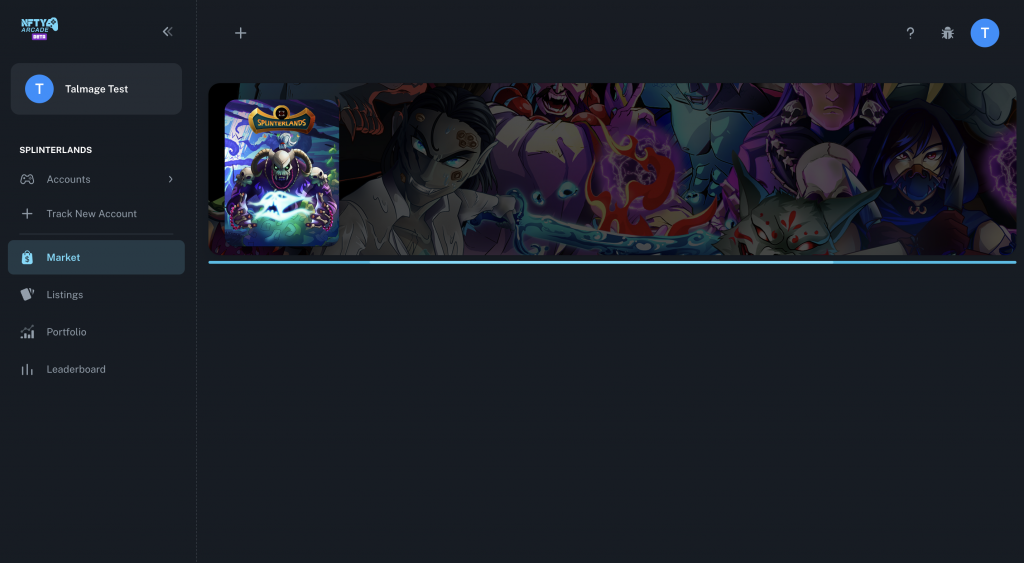
- On the left-hand navigation bar, click the + Track New Account button.
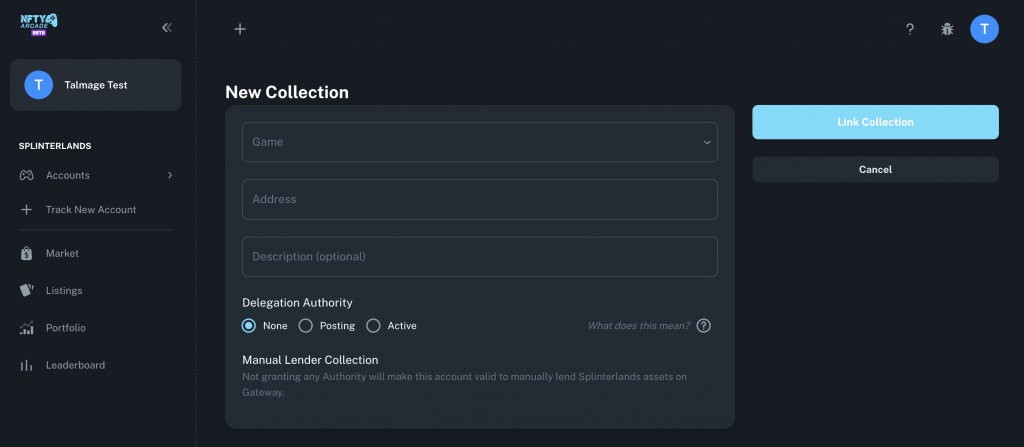
2. Select Splinterlands as the game to connect to Gateway.
3. Enter your Hive username in the Address field. Your Hive address and Splinterlands username are the same.
4. Select a delegation authority to grant Gateway:
- Posting Authority allows Gateway to automatically delegate and undelegate Splinterlands cards for you. Select this authority if you will use this account to lend or buy decks.
- Active Authority allows Gateway to automatically make payments for Splinterlands Listings you are borrowing. Select this authority if you will use this account to borrow decks.
WARNING: When you borrow on the platform, lenders will have access to all the claimable SPS in your account. Note that claimable SPS is distinct from staked SPS – once staked, NFTy Arcade does not have access to it.
To ensure a smooth borrowing experience, it is strongly advised that you claim all outstanding SPS before initiating the borrowing period. Any SPS that you claim during the borrowing period will be subject to the percentage split that you have agreed upon with the lender.
Completing setup
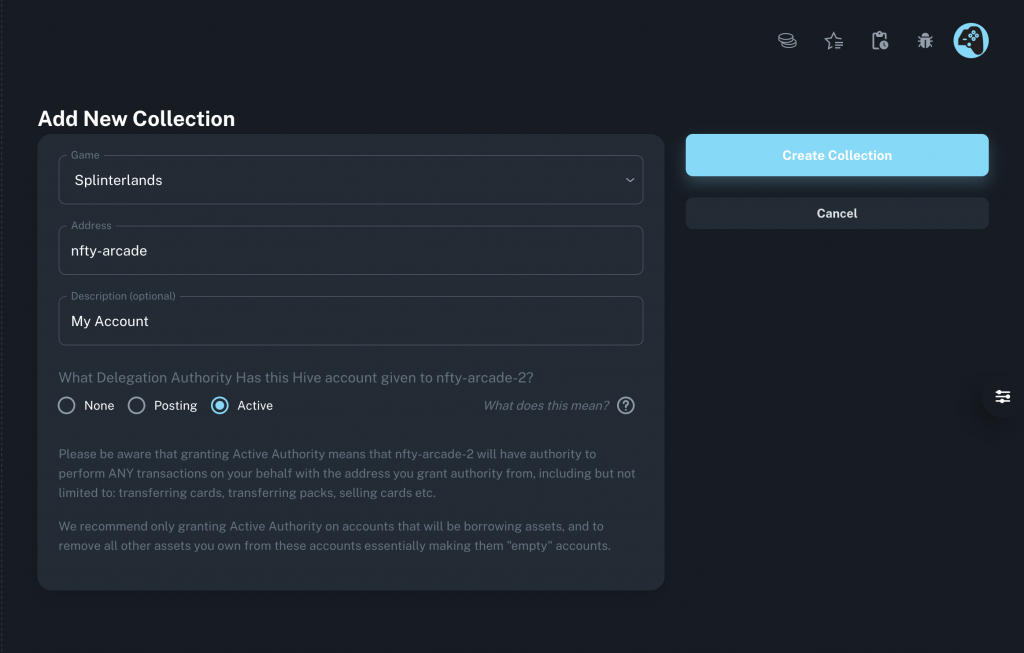
Step 2:
If desired, provide a brief description to help you identify each account.
Then, click on the “Create Collection” button to finalize the setup process.
Next, you will need to approve the keychain transaction to verify that you have the account you want to add in your keychain.
After approving the transaction, click the “Create Collection” button again.
Wait for up to a minute for the system to process your request. If all information was entered correctly, you will be directed to the “My Collections” page.
Borrowing A Deck
Before You Begin
Grant Gateway Active Authority for the account you want to play on.
Renting Step 1
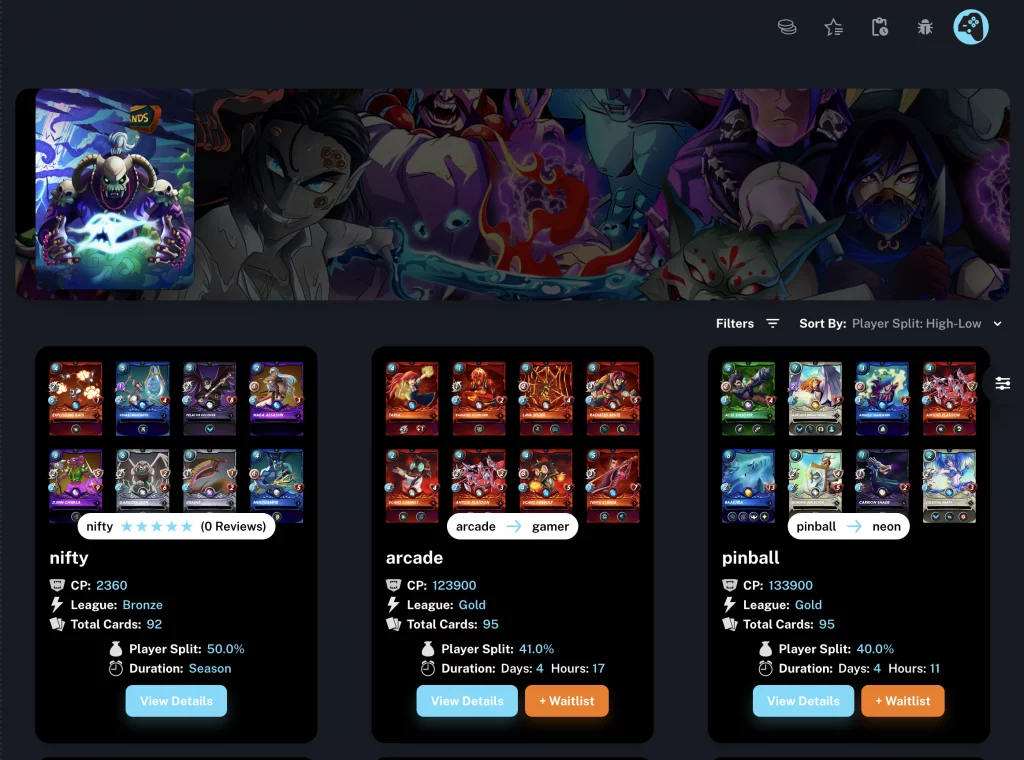
Step 1: Find a Listing to Rent
- Navigate to the Market tab.
- Optionally, use the Filters to refine your search by availability, league, and collection power.
- Select an option to Sort By to arrange the listings by player split, duration, and collection power.
- Click on View Details to see more information about an available listing you want to rent.
- If the listing is currently unavailable, click on the Waitlist button to be notified when it becomes available.
Renting Step 2
Step 2: Review the Listing Terms After selecting the Market tab and optionally adjusting Filters and Sort By options, you can view the details of an available listing by clicking on “View Details”. If the listing is currently unavailable, you can join the waitlist.
Before renting a listing, review the listing description to understand the terms. You will see the Default League, which indicates the league that the borrower is expected to compete in, as well as the Minimum Rating, which is the minimum required Collection Power to rent the listing.
The Lender Split is the percentage of total daily earnings that you will receive as the lender. You should also check the Duration of the rental, which can be set to Season, Indefinite, or a specific period. If the rental is set to Season, the end time of the rental contract will be a few hours after the end of the current season, allowing you to earn your Lender Split percentage of season chests in addition to daily earnings.
If the rental is set to Indefinite, there is no end time for the rental contract, and you will need to manually cancel the rental period on the Listings tab. The Set Period option specifies the number of days you can play using the collection.
Renting Step 3
Step 3: Request the Rental
From the listing details page, select a collection to receive the rental from the Collection menu.
Click the Request button to request the rental.
A keychain transaction will appear, asking you to delegate rewards. This means that the lender’s portion of the Lender Split will be automatically sent to them each time you claim Splinterlands rewards.
Wait for the lender to approve the request. The lender has 24 hours to respond. If they do not approve the transaction within this time, you will be prompted to cancel the reward delegation.
More than just Splinterlands!
Soulbound cards are a special type of card that can only be earned by playing Splinterlands. These cards are unique in that they cannot be traded or sold on the open market, but they do have an important use in the Splinterlands ecosystem. If you earn a soulbound card while renting a collection on NFTy Arcade, you can use it to earn money in Splinterforge. By renting collections on NFTy Arcade and earning soulbound cards, you not only get to experience different play styles and strategies, but also have the opportunity to earn additional income through the Splinterlands economy.