To participate in the metaverse economy, one of the first steps is to set up a crypto wallet. A crypto wallet acts as a secure key to all of your web3 assets, including cryptocurrencies and NFTs. It enables you to securely access your assets and make transactions on the blockchain, as long as you safeguard the password and seed phrase associated with the wallet.

What Is MetaMask?
MetaMask is a widely used Ethereum-compatible wallet developed by ConsenSys. It can be accessed through a browser extension that is compatible with Chrome, Firefox, Brave, and Edge. Recently, ConsenSys announced a banking integration feature that allows eligible users to transfer funds directly from their bank account to their MetaMask wallet.
MetaMask is primarily used for transactions on the Ethereum network, but it is also fully compatible with other blockchain networks such as Avalanche, Polygon, Binance Smart Chain, Fantom, Harmony, and more. If you want to hold NFTs such as wearables for your avatar in Decentraland, for example, you will be able to access them via your MetaMask wallet, but you need to have your wallet connected to the app in order to use them.
Setting up MetaMask
To start using MetaMask, go to the MetaMask website. Once there, you will see a blue button that enables you to download the extension for your preferred browser. For example, if you are using Chrome, you will see this Download button.

When you click on the blue button, you will be taken to the Chrome Web Store. Here, you can learn more about the application and read reviews from other users. Once you are ready to proceed, click on the “Add to Chrome” button to install the MetaMask wallet for free.
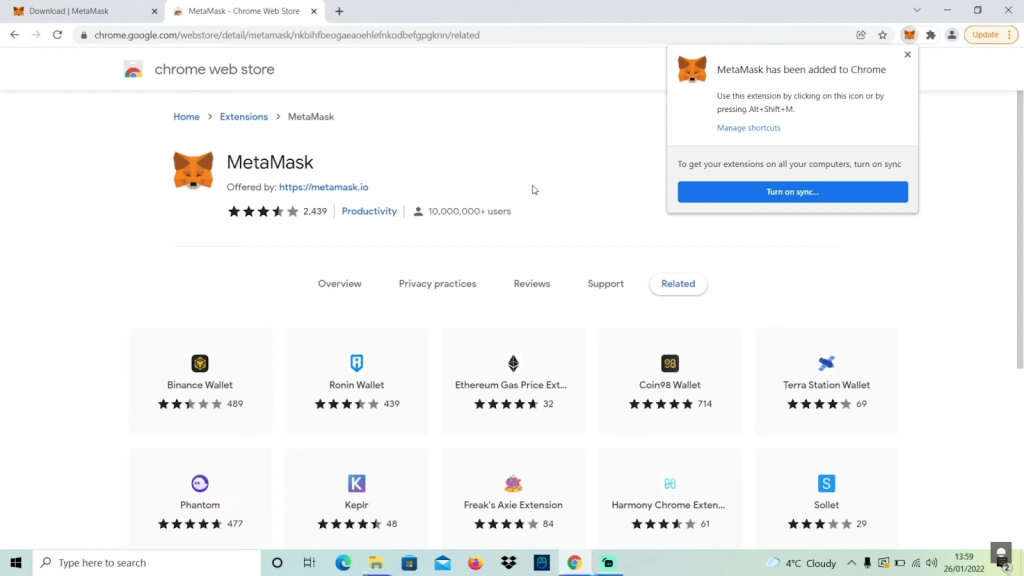
Once MetaMask is installed, you will see a fox icon in the top right corner of your screen and receive a notification confirming the installation. To easily access the extension, click on the puzzle icon to view your extensions, then click the pin icon next to MetaMask to keep it visible on the browser bar.
Setting Up Your MetaMask Wallet Recovery Phrase
Next, you’ll be given the option to “Get Started.” Once you’ve clicked that button, you’ll see a screen like this:
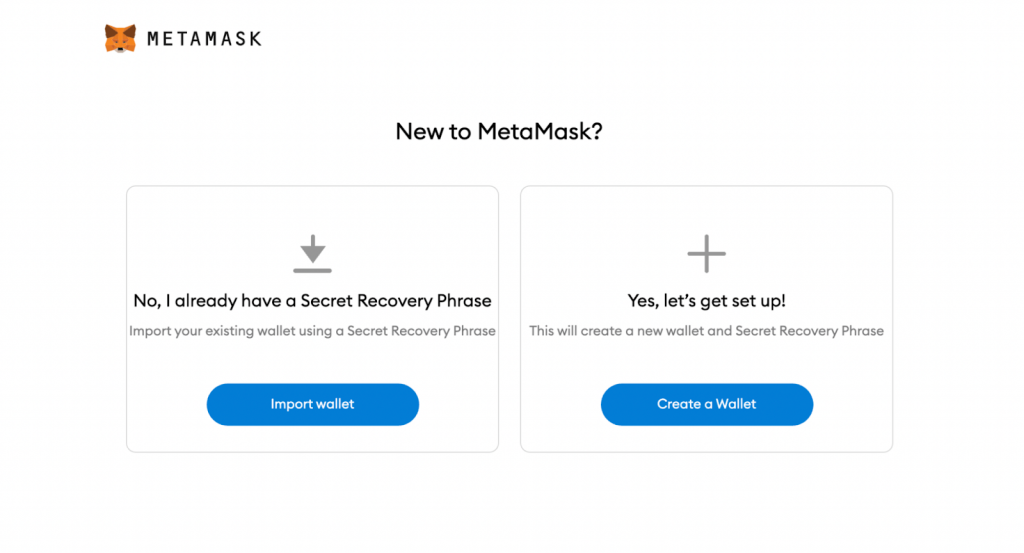
If you are a new user, click the “Create a Wallet” button to set up a new wallet. You will then be asked if you want to share analytics with MetaMask, the choice is yours. Next, you will be prompted to create a password for your new wallet.
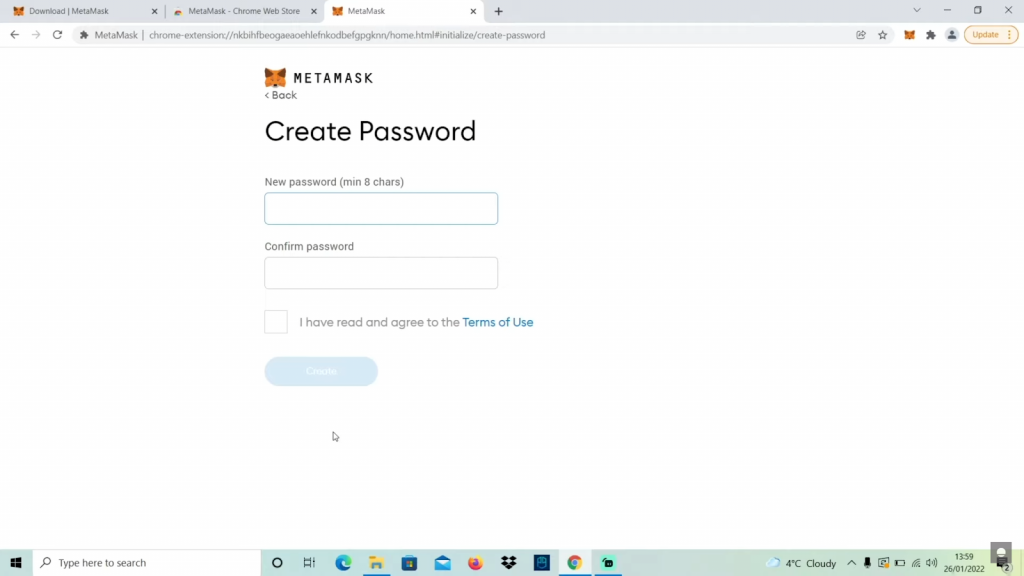
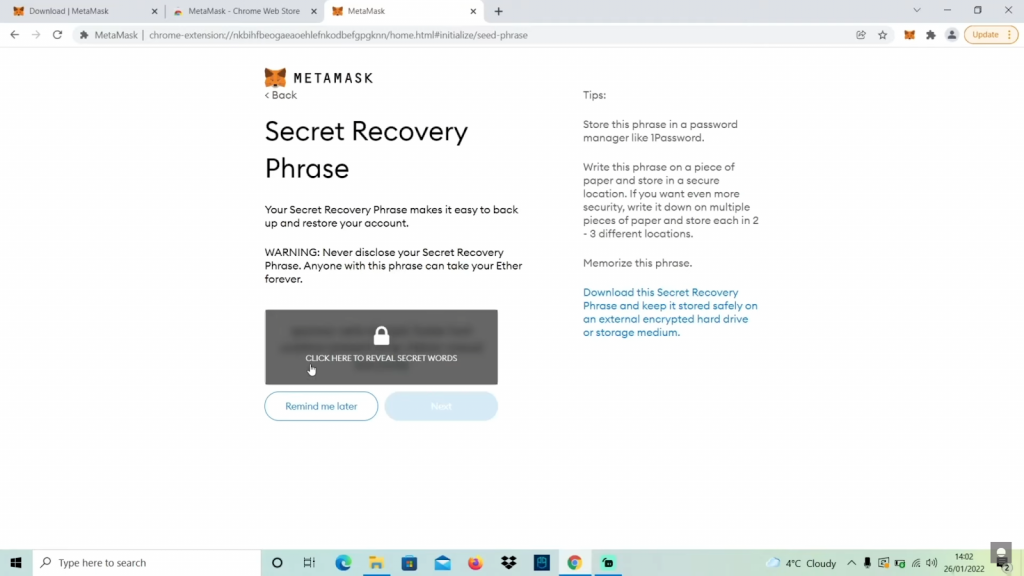
This password will be used to access your wallet on your device. It is important to choose a strong password for security. After creating a password, you will be presented with a set of 12 words that serve as your private key. These words are your backup and should be kept safe as they are the only way to restore your wallet.
MetaMask Safety
It’s crucial to understand the importance of these 12 words as your master key to all your digital assets. This passphrase is the only way to restore your wallet if you lose your password or device. Anyone with access to these 12 words can restore your wallet and gain access to your assets, including cryptocurrency and NFTs. Therefore, it’s extremely important to keep these words safe and offline, and not to share them with anyone. It’s a good practice to write them down and store them in a secure location.
MetaMask will ask you to confirm your secret recovery phrase by selecting the words in the order they were originally given to make sure you have written them down correctly. Once you have confirmed the 12 words, you can click “Continue” and your wallet setup is complete.
It is important to be aware of the potential risks and take necessary precautions to protect your assets from scams and hacks. Here is a good resource for learning about how to avoid getting scammed and having your assets stolen:
1/ Yesterday, a web3 influencer, @Zeneca_33, was hacked & a malicious link was shared via his account. Sadly, this seems like just another day in web3, but it doesn’t have to be…
— Realm Academy (@Realm_Academy) July 20, 2022
We partnered w/ @Ledger to teach Blockchain security. Here’s how our class on security applies
🧵
Exploring MetaMask
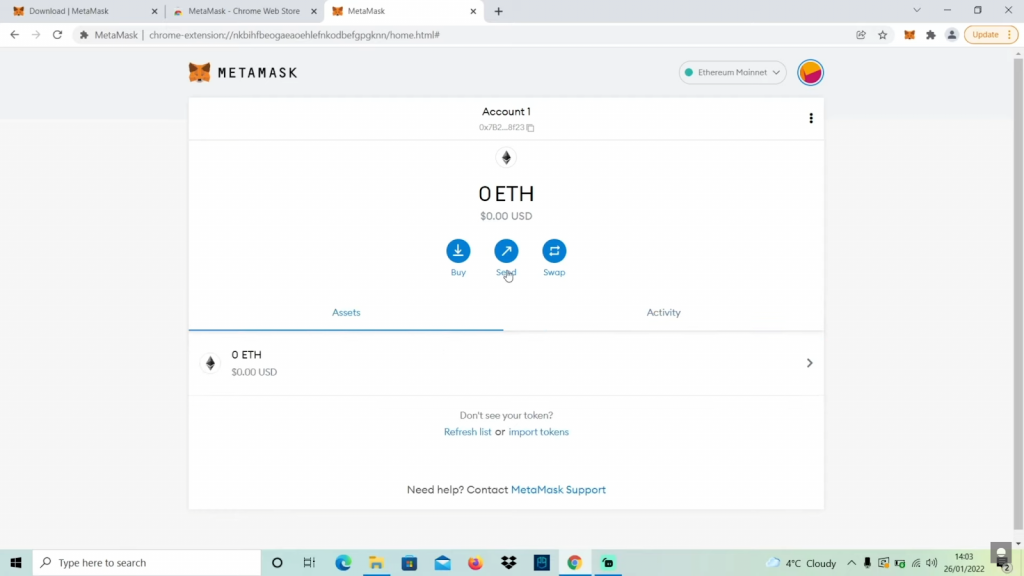
Once your wallet is set up, you can access it in two ways:
- By clicking on the fox icon in the upper right corner of your browser, this will open a small window with basic functionalities.
- By visiting the full-fledged MetaMask page, which will provide you with more detailed information and advanced options.
Both options will allow you to view your balance, transaction history, and other important information related to your wallet.
It’s important to note that you should always make sure that you are on the correct website, as there are phishing sites that may look similar to the real MetaMask site.
It’s important to remember that buying and selling cryptocurrencies and NFTs is a complex and dynamic process that requires research and understanding of the market. Before making any transactions, it’s crucial to do your own research and make an informed decision.
To transfer ETH or other tokens to your MetaMask wallet, you can use a cryptocurrency exchange such as Coinbase, Gemini, or Binance. These exchanges will allow you to purchase tokens using a credit card or bank transfer and then withdraw them to your MetaMask wallet.
When transferring tokens between wallets, it’s important to double-check the wallet address you are sending to, as crypto assets are not insured and a mistake can result in an irreversible loss of funds. A good practice is to test the transaction with a small amount of tokens first and check that it has arrived in your wallet before sending the full amount.
With your funds in your MetaMask wallet, you can start buying and selling NFTs on platforms like OpenSea or make purchases in metaverse platforms like Decentraland, The Sandbox, or Portals.
Keep in mind that this guide is meant to help you get started with creating your first crypto wallet, but it is not a comprehensive guide to buying, selling, and holding cryptocurrencies and NFTs. Always be sure to do your own research and stay informed about the market.